OS First Boot
The following points describe the steps to be performed after powering on your Raspberry for the first time, when using a new copy of the RGB-Pi OS:
| 1. The boot logo will be displayed. |
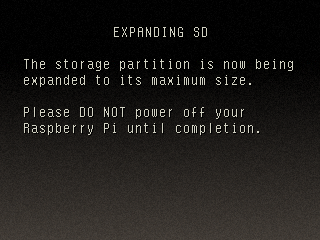
| 2. Wait until the system expands the SD card to its maximum size. |
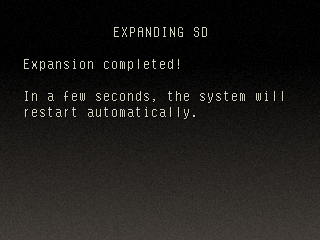
| 3. Wait for the system to reboot. |
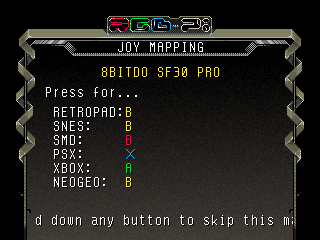
| 4. Perform the joystick button mapping following the on screen instructions (this screen won't be displayed if there is not any joystick connected or if you are using the JAMMA board). Note: you can maintain any button pressed to skip any button mapping configuration and on the end. Hotkey: is recommended to be start or select or other button that is not used to play. |
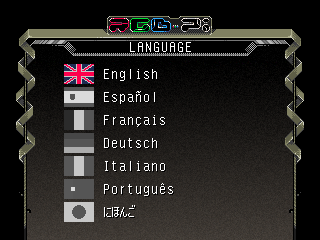
| 5.Select your language. |
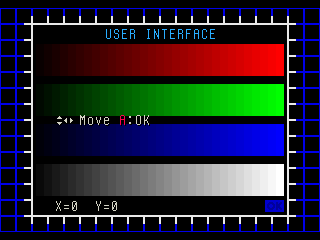
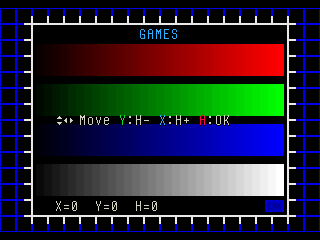
| 6. Perform the UI and Screen image adjustments. |
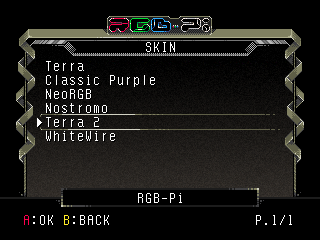
| 7. Select the desired skin. Note: Classic Purple is the official skin used in RGB-Pi OS v1, and Terra is the official skin created specifically for RGB-Pi v2. |
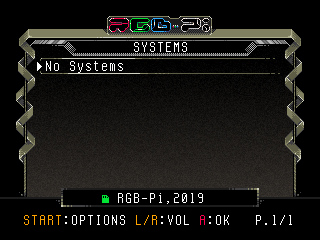
| 8. That's all! after finishing the configuration, you'll be presented in the system menu screen. |
| 9. Now you need to add games, you can continue on Adding ROMs |

