Difference between revisions of "OS First Boot"
| Line 12: | Line 12: | ||
[[File:01_expand_02.png|border]] | [[File:01_expand_02.png|border]] | ||
|- | |- | ||
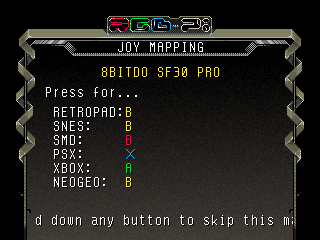
| − | |4. Perform the joystick button mapping following the on screen instructions (this screen won't be displayed if there is not any joystick connected).<br>'''''Note''': you can maintain any button pressed to skip any button mapping configuration.'' | + | |4. Perform the joystick button mapping following the on screen instructions (this screen won't be displayed if there is not any joystick connected).<br>'''''Note''': you can maintain any button pressed to skip any button mapping configuration and on the end.''<br>'''Hotkey''': is recommended to be start or select or other button that is not used to play.'' |
[[File:01_mapping.png|border]] | [[File:01_mapping.png|border]] | ||
|- | |- | ||
Revision as of 06:10, 13 May 2020
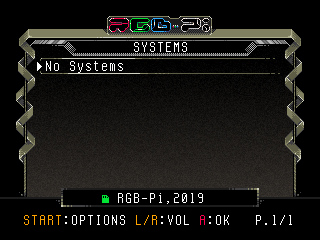
The following points describe the steps to be performed after powering on your Raspberry for the first time, when using a new copy of the RGB-Pi OS:
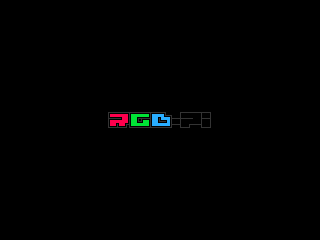
| 1. The boot logo will be displayed. |
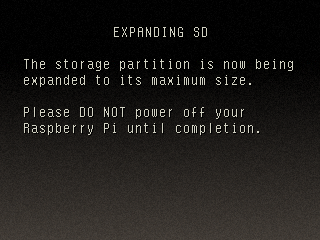
| 2. Wait until the system expands the SD card to its maximum size. |
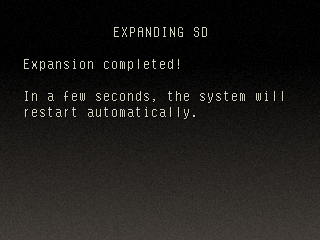
| 3. Wait for the system to reboot. |
| 4. Perform the joystick button mapping following the on screen instructions (this screen won't be displayed if there is not any joystick connected). Note: you can maintain any button pressed to skip any button mapping configuration and on the end. Hotkey: is recommended to be start or select or other button that is not used to play. |
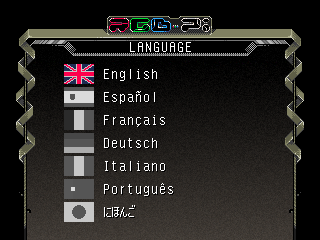
| 5.Select your language. |
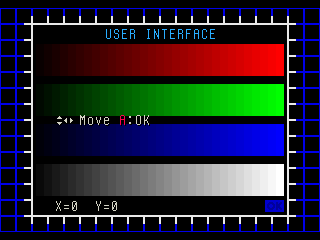
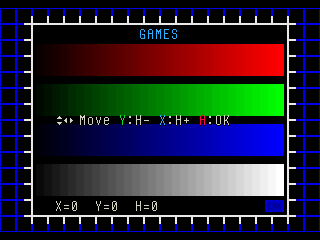
| 6. Perform the UI and Screen image adjustments. |
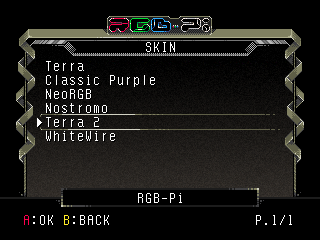
| 7. Select the desired skin. Note: Classic Purple is the official skin used in RGB-Pi OS v1, and Terra is the official skin created specifically for RGB-Pi v2. |
| 8. That's all! after finishing the configuration, you'll be presented in the system menu screen. |
