Difference between revisions of "OS Installation"
| (3 intermediate revisions by one other user not shown) | |||
| Line 1: | Line 1: | ||
| + | <languages/> | ||
| + | <translate> | ||
| + | <!--T:1--> | ||
'''Steps:''' | '''Steps:''' | ||
| + | <!--T:2--> | ||
{| | {| | ||
|- | |- | ||
|1. Go to rgb-pi.com and click on the [https://www.rgb-pi.com/#os download link] to get the latest OS image. | |1. Go to rgb-pi.com and click on the [https://www.rgb-pi.com/#os download link] to get the latest OS image. | ||
| − | [[File: | + | [[File:os4_download.png|border|640px]] |
|- | |- | ||
|2. Take a micro SD card of 8GB or more. | |2. Take a micro SD card of 8GB or more. | ||
| Line 17: | Line 21: | ||
|} | |} | ||
| − | Now you are ready for the first boot! | + | <!--T:3--> |
| + | Now you are ready for the [[Special:MyLanguage/OS_First_Boot | first boot!]] | ||
| + | </translate> | ||
Latest revision as of 21:51, 12 February 2023
Steps:
| 1. Go to rgb-pi.com and click on the download link to get the latest OS image. |
| 2. Take a micro SD card of 8GB or more. |
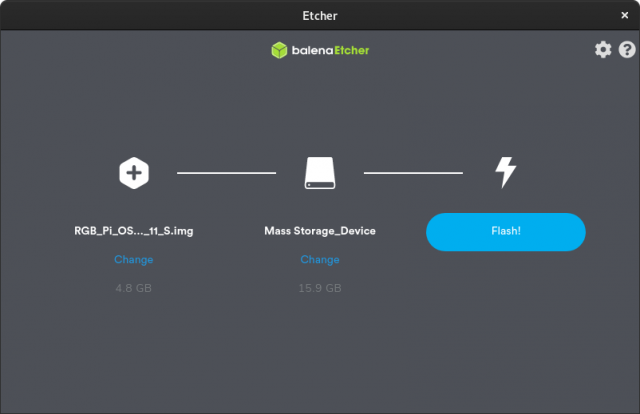
| 3. Download Etcher. This is a multi platform (Windows/Linux/Mac) tool to write the OS image into the SD card. |
| 4. Open Etcher and burn your image file into the SD card (you don't need to extract any file from the downloaded image). |
| 5. Extract the SD card (doing a safe extract) and plug the SD into you Raspberry Pi. |
Now you are ready for the first boot!

