Difference between revisions of "RGB-Pi SCART Installation"
| Line 6: | Line 6: | ||
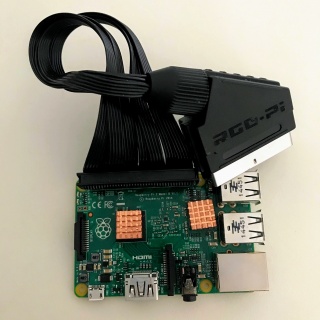
[[File:cable.jpg|320px|border]] | [[File:cable.jpg|320px|border]] | ||
|- | |- | ||
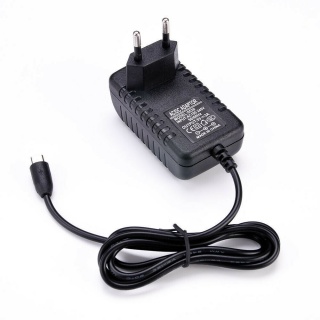
| − | |2. We recommend the use of [https:// | + | |2. We recommend the use of [https://rover.ebay.com/rover/0/0/0?mpre=https%3A%2F%2Fwww.ebay.com%2Fulk%2Fitm%2F254282109713 this power supply ]as the only one with RGB-Pi approval to avoid undervoltages and slowdowns because supply 5.25v, If you are from UE, need one plug converter too. |
[[File:psu.jpg|320px|border]] | [[File:psu.jpg|320px|border]] | ||
|- | |- | ||
Revision as of 10:22, 16 October 2020
Steps
| 1. Connect the cable to the GPIO. The cable must be facing to the outside of the Raspberry Pi |
| 2. We recommend the use of this power supply as the only one with RGB-Pi approval to avoid undervoltages and slowdowns because supply 5.25v, If you are from UE, need one plug converter too. |
| 3. That's all! For instructions on how to install RGB-Pi OS, please visit OS Installation |

